This short guide on how to design a banner will help people with little or no design experience to make one on their own. Follow these easy steps one by one and you’ll have a print ready banner designed in no time.
Step 1
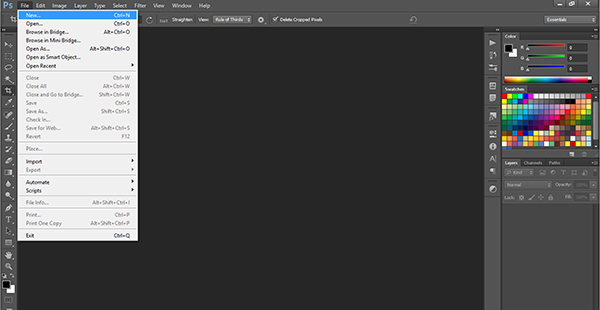
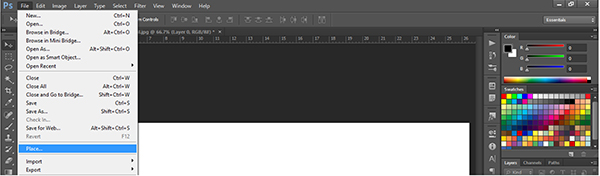
Create new document In Photoshop, select File and New.
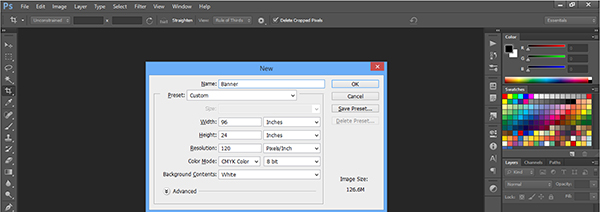
This will open a New File window where you can select all the properties of your banner. Select size (we chose 8ftx2ft) and resolution (in this case, 120 pixel/inch is enough given that this banner will be seen from a distance of approximately 10ft). The further away the viewer will stand, the lower the resolution can be. This way you won’t end up with a massive file. If you’re not sure which resolution to select, talk to your printer.
Make sure your colour mode is CMYK. That’s the mode used for printing and background contents is set to white for a white background.
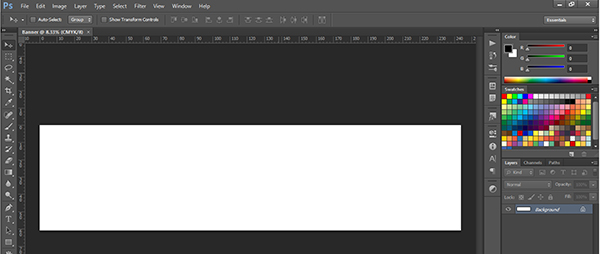
Once you click the OK button a layer like this will open.
Step 2
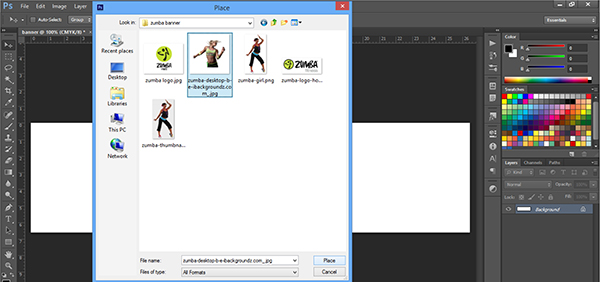
Insert an image Select File and Place
A Place window will open. Select an image of your choice and click Place.
The picture you selected will appear on your banner like this.
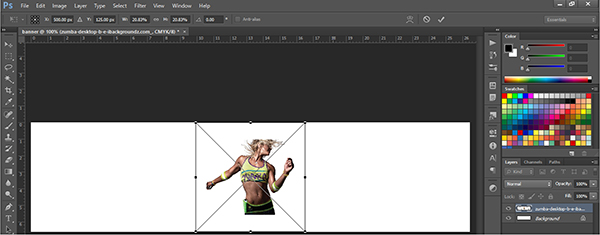
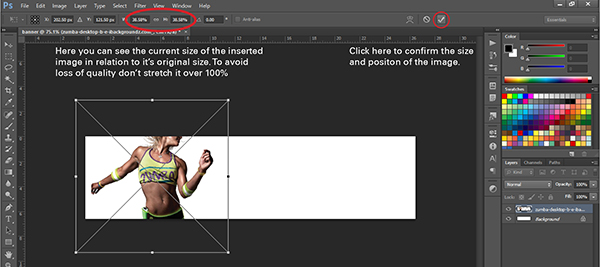
To move the picture simply click and drag. To re-size it hover over one of the corners of it until the cursor appears as a double sided arrow. Tip - Hold shift and drag to re-size proportionally.
By repeating the process you can add as many images as you like. Here we added the logo.

In case you want to re-size the photo after you place it select Edit then Free Transform.
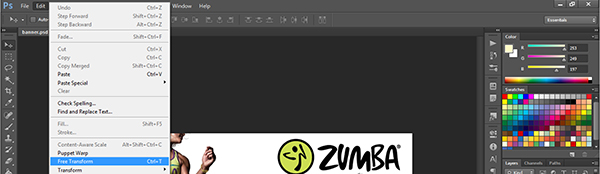
and the bounding box will re-appear.

Step 3
Adding text Select the type tool from the side menu.
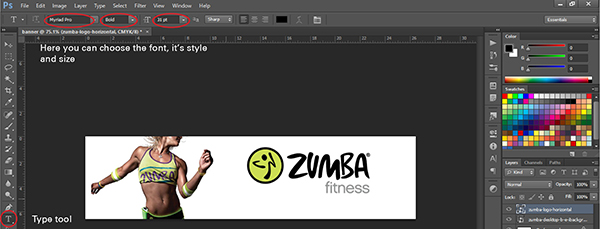
Click anywhere to on the banner to start typing.

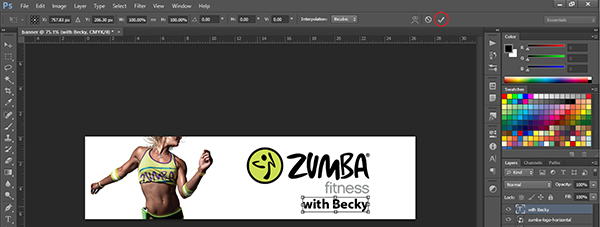
Once you’re done confirm the action the same way you did with placing images.
To move text around select the layer it’s on (on your right side) and the move tool from the left hand side menu, then click and drag.
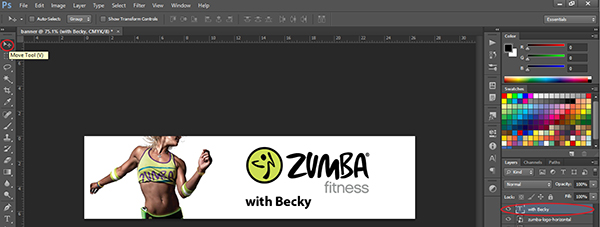
Repeat the process to add more text if needed.

You can resize text the same way you resized pictures (Edit>Free Transform) and move it around using Move Tool.

Step 4
Changing background colour
Select the paint bucket tool from the left hand side menu and the background layer. Pick the colour either from swatches or the colour mixer.
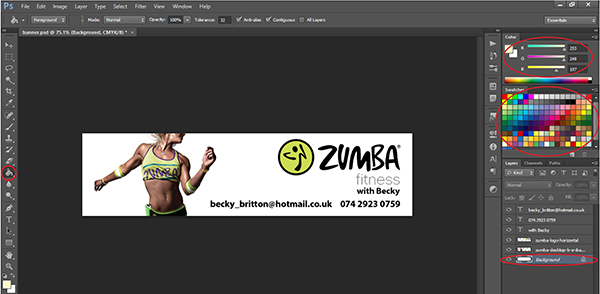
Simply click on the banner to change the colour of the background.

Step 5
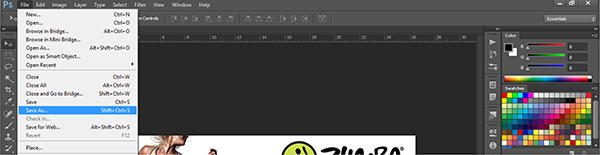
Saving the file Select File then Save As...
A Save As window will open. Save the file in Photoshop format first, so you can make any changes to it in the future.
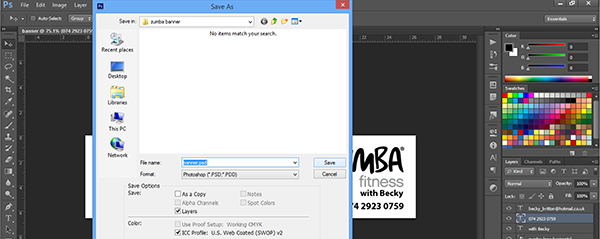
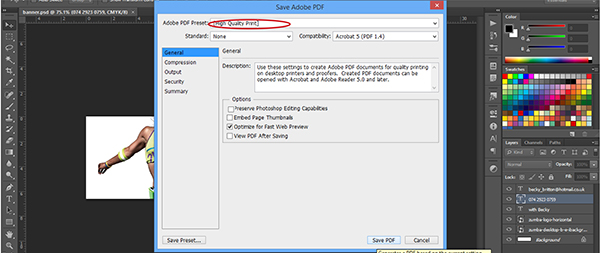
Then go to layer - flatten image and repeat the process (File>Save As...) and save it in the Photoshop PDF format. This is the file you’ll deliver to your printer. Click Save.

A new Save Adobe PDF window will open. Make sure you select High Quality Print as a Preset.