Here’s a quick, no-nonsense, step-by-step guide to get you started with the Adobe Keyboard Shortcut Mapper, helping you create your stickers & Labels or printed product.
Step #1 – Choose your Application
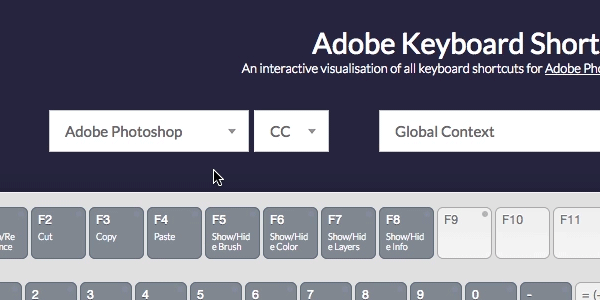
Select from Adobe Photoshop, Adobe Illustrator, or Adobe InDesign from the drop-down menu.
Step #2 – Choose your OS
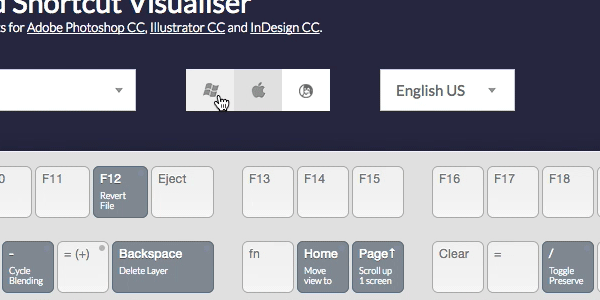
Select your operating system of choice (Windows, Mac, or Linux) using the toggle buttons above the keyboard.
Step #3 – Magnify the Shortcut(s)
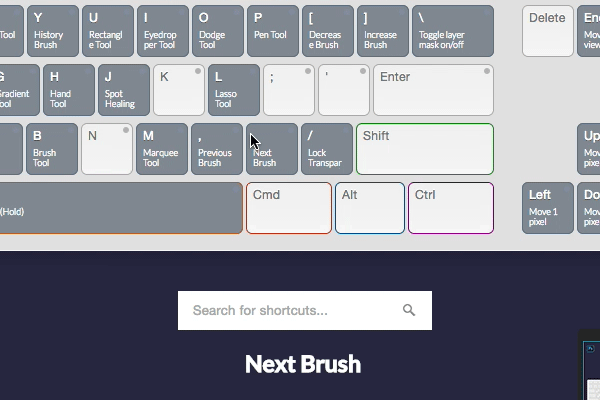
Roll over any keyboard key with your cursor to magnify the shortcut (this is shown below the keyboard).
Step #4 – Toggle “Power” Keys
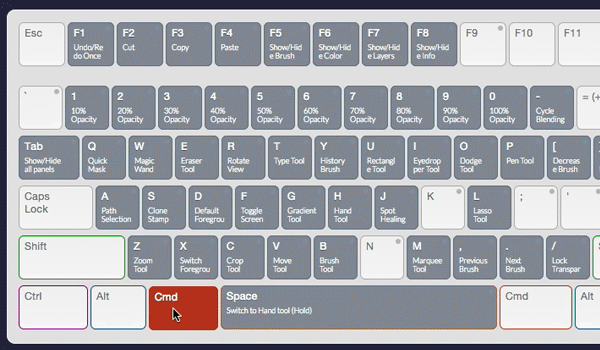
Toggle “Power” keys (CTRL, CMD, Shift, Alt/Option) to view corresponding shortcuts for your chosen application.
You can toggle these in any order/combination.
Note: You can also toggle these keys using the corresponding keys on your physical keyboard.
Step #5 (Optional) – Select Your “Context”
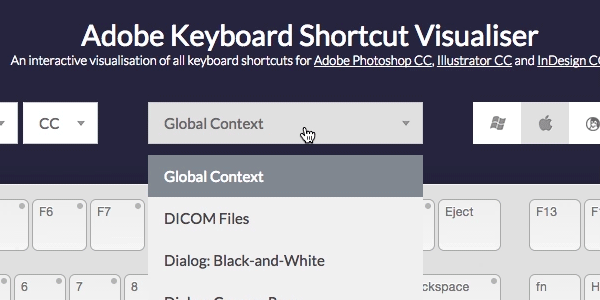
By default, the tool shows application shortcuts for a global context (meaning application-wide shortcuts).
If, however, you’d like to see shortcuts specific to a particular tool, mode, or application window, you can use the “context” drop-down above the keyboard.
Note: We highly recommend sticking to the default “Global Context” to begin with.
Step #6 (Optional) – Search for a Shortcut
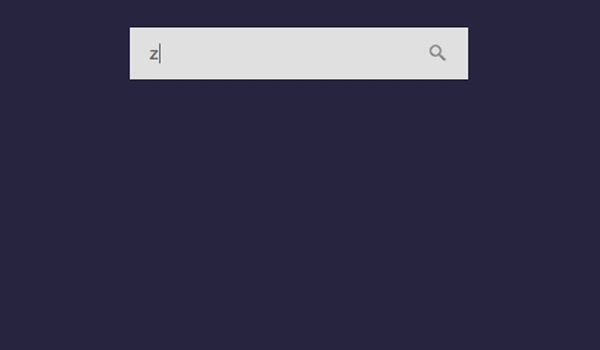
Use the search box (located below the keyboard) to quickly find any shortcut you might be looking for.